Showing posts with label design. Show all posts

Monday, July 29, 2013

Simple Mason Jar Decor...

There seems to be no end to the decorating and organizational possibilities of the classic Mason Jar.  It's classic design is well recognized and it's function stretched to the limits! This year Ball released the Heritage Collection, a blue mason jar that comes in vintage inspired packaging. These blue jars have been all over the web, inspiring DIY decorators once again!


I thought that the Heritage Collection would be hard to locate, but was pleasantly surprised to find that they are readily available at many of the stores I shop in every week! I grabbed a box of six and am now trying to decide how to best use them! Look at all of these fabulous ideas...


And they look so pretty with fresh flowers!


So many beautiful options... can't wait to get started!

You can check out how I decided to use my Mason Jars here!

Friday, March 29, 2013

DIY Easter Baskets


I'm sure that it is a little late for anyone to decide to throw together an Easter basket project, but I wanted to share the baskets I finished for the boys anyway! Maybe you can "Pin it" for next year?!


I wanted the boys to have matching baskets and when I took a look at what as out there, I thought that I could probably DIY it for much cheaper and be happier with the finished product. So, using a couple of Dollar Store baskets, and some scrap fabric (from this project), I got to work!


I didn't have enough fabric to make a full liner for the basket, but there was just enough to trim the edges. To do this, I simply sewed a very long rectangle, and folded it around the top edge of the basket. 


I secured the fabric with a small piece of velcro, and added a piece of twine. I painted a couple of wooden letters and attached them with hot glue.


I wonder what goodies the boys will find in their baskets this Sunday??

Happy Easter!
xo

Thursday, March 14, 2013

Jessica's DIY Sign

I'm happy to say that Jessica from, Prairie Girl to Southern Belle, is hear today to share a great DIY project with us!

I've had a sign on top of the kitchen cabinets for years now. It was time for a change.  If I had a Silhouette, I would have pulled it out and whipped out some vinyl, to do this project quickly. But you know what? It wouldn't have turned out quite the same.  Don't get me wrong! A Silhouette is still on the top of my wish list!
Last week, when I was painting and touching up some furniture, I also painted that brown sign my favorite creamy white, December Starlight.  I laid the sign down on two small paint cans so I could paint it easily on the sides.

When the kiddos went to bed, I played around with some fonts on the computer and printed out my saying. I laid it out to get the placement right.  And if you're wondering, yes, that P does look like it's too far away.  I didn't notice it until the project was done...I blame it on the DayQuil.
To get the letters traced on the wood there are probably a number of ways you could do this. Here's how I did it. I traced the letters on the back side of the papers (put a piece of paper underneath or the ink will be on your table), flipped them over and set them right side up on the sign. Then I traced them on the right side. The pencil on the reverse side of the paper will transfer to the wood. In the photo below, I had already gone back and traced the letters with my Sharpie.

Then start filling them in. I didn't worry about it being perfect because I wanted to distress it later
Now the fun part. I just took my good ol' sanding block and sanded away. The result is exactly what I had in mind. Kind of rough and faded looking. Love it! And it was free! It doesn't get better than that!

Here it is hanging above the kitchen windows in our 'breakfast nook'.  I had a picture of the whole area but it's so cloudy and it just didn't quite turn out.
This project was so easy and fun that I can already see a few more of these in my future!

Thanks so much Jessica! The sign is fabulous! Don't forget to check out more of Jessica's great DIY projects on her blog, Prairie Girl to Southern Belle!

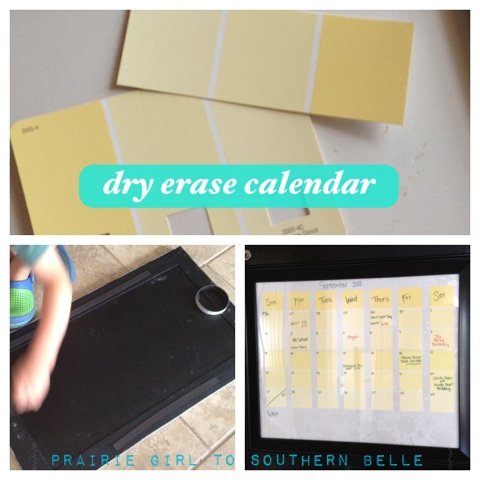
Dry Erase Calendar
Here are a couple of my favourites!
 
DIY Goo Gone

Monday, March 4, 2013

Storing craft supplies...

Over the past few months, I have acquired quite the collection of crafting supplies. These all used to be stored in a closet in my basement, but in an attempt to use what I have on a more regular basis I decided to move frequently used items up to my desk space. The problem with this is that my desk is in the middle of our living room. In order to avoid little fingers getting into everything, and to make the space ascetically pleasing I needed to make some changes!

The first piece of furniture that I added to the space was a woven table/storage box with a hinged lid. This was actually something I already had on hand that had been occupied with toys. It holds my Silhouette and accessories as well as my fabric supply. I was super pumped when I realized that the plastic bin, that holds my fabric, was the perfect size to span the width of the box.


After a few weeks of looking for an appropriately sized shelf to place beside my desk I found this cream coloured cabinet at Home Sense. The top drawer hold some of my office supplies, labels and washi tape and the shelves house my sewing and craft caddies. I added washi tape and a chalk board label to the caddies to spruce them up a little! I placed some jars and some paper towel rolls inside the caddy to keep my supplies and tools organized.


I have been using this large glass vase to keep my current knitting project close at hand.  I don't take the time to work on this project near as often as I would like and I hope that keeping it in clear view may be a good reminder. Also, the yellow and grey colour combo is just pretty to look at!


Do you have any fun ideas for craft storage? How do you keep it all organized and pretty?

Wednesday, January 16, 2013

What have I washied???


A month or two ago, I wrote a very excited post about a new obsession.... Washi Tape! This adorable paper tape is a crafter's dream! It can be added to practically anything and everything. When I first received my shipment I was hesitant to use it... it was kind of like an artist staring at a blank canvas. I had so many ideas, that I didn't know where to start! Since then, I have "washied" many things around the house and every time I look at them I get a little thrill (it doesn't take much to amuse me)!! Here is a quick look at some of my projects...

  1. notebook flags for quick reference
  2. decorative borders in my sewing and craft cabinet
  3. cord labels (our USB cords were all starting to look the same)
  4. spice jar labels
  5. a pretty coaster for my desk
  6. file folder labels
Are all of these embellishments necessary?? Definitely not. Do they add a little kick to the otherwise mundane?? For sure!! 

I am always looking for new ideas for washi tape, you can check out my finds on this Pinterest Board!

Linking up to...


Tuesday, November 20, 2012

...A new obsession


While reading one of my favourite blogs, Iheart Organizing, I discovered a new product... Washi Tape. Intrigued by this pretty new find, I did some research, and within an hour had purchased 25 rolls on Etsy! To fill the long days while I awaited the arrival of my new collection (I've always loved a good collection) I pinned away on a new Pinterest board (I Love Washi Tape), bought a pretty glass bowl at the dollar store, and dragged my boys back and forth to the mailbox (no small feat)! Nine whole days later, the little gems arrived!


Aren't they pretty!! I am now viewing everything in my home as a possible Washi tape project. Am I the only one who is new to the wonderful world of Washi??


Monday, November 12, 2012

Kids shelving...


When researching ideas for Andrew's "big big room" I came across the clever idea of using outdoor flower boxes for shelving. I knew this would be an excellent way to a) fill some wall space,    
b) contain/display a few stuffed animals, and c) keep a few delicate items out of reach!  I was surprised how difficult it was to find these items, but ended up having luck snagging a few at Homesense for only $12.99.


I used drywall plugs to hang the shelves, but was not able to utilize the walls studs. Even so, they are incredibly sturdy and I have no concerns with piling them high with more books!


Andrew is just now getting to the age where he enjoys longer stories. However, I don't exactly trust him to not rip the pages. So for now these will be kept out of reach for supervised story times. All of his favourite board books are organized into baskets in the unit below these shelves.


Since these baskets are meant for outdoor use, they are a little rough. I had originally planned to keep them lower to the ground so that Andrew could take out his animals, but I was worried he might get scratched. I like the rustic look of the wrought iron but it would also be easy to spray paint these shelves if you wanted a lighter look. All in all, this was a quick and inexpensive way to add more storage and fill a large wall in the little man's room!


Linking Up


Monday, September 10, 2012

A painted vase...

I recently came across a great idea for a quick DIY project on one of my favourite blogs, Honey We're Home. I thought it would be a great way to spice up some of the plain glass vases I have stored in my cupboard!  I decided this would make a great birthday gift, along with some fresh flowers, for my good friend Jenn, who loves and appreciates a fun new craft!

I chose some basic acrylic paints, in the colours of her bedroom.


After cleaning and thoroughly drying the vase, I simply dumped some of each paint colour into the bottom of the vase. Next time, I would be more careful to not drip the paint down the side of the vase!


Then, I simply swirled and tipped the vase until it was completely covered and left it upside down for a few hours to dry.


The paint swirls together nicely to create a marble effect. I had to add more paint as I went, which altered the look, blending the colours almost too closely. I think I would choose colours that were less similar next time, in order to create more contrast. Overall, I was happy with the finished product! Happy Birthday Jenn!


The DIY Dreamer

Tuesday, August 14, 2012

Andrew's Art Display!


This spring, Andrew moved into his "Big Boy Room" to make room for his new baby brother or sister. He absolutely loves the dinosaur theme of his new digs, and I've had fun decorating.... I do love a theme! There are still some empty spaces on the walls that I've been brainstorming how to fill, and a place to showcase his artwork has been my latest project!


This is the space that I decided to use. I think that it works well because I can utilize space that is at Andrew's level.


I started by spray painting an old picture frame a cream colour. Then, using two coats of chalk board paint, I painted the frame's glass.


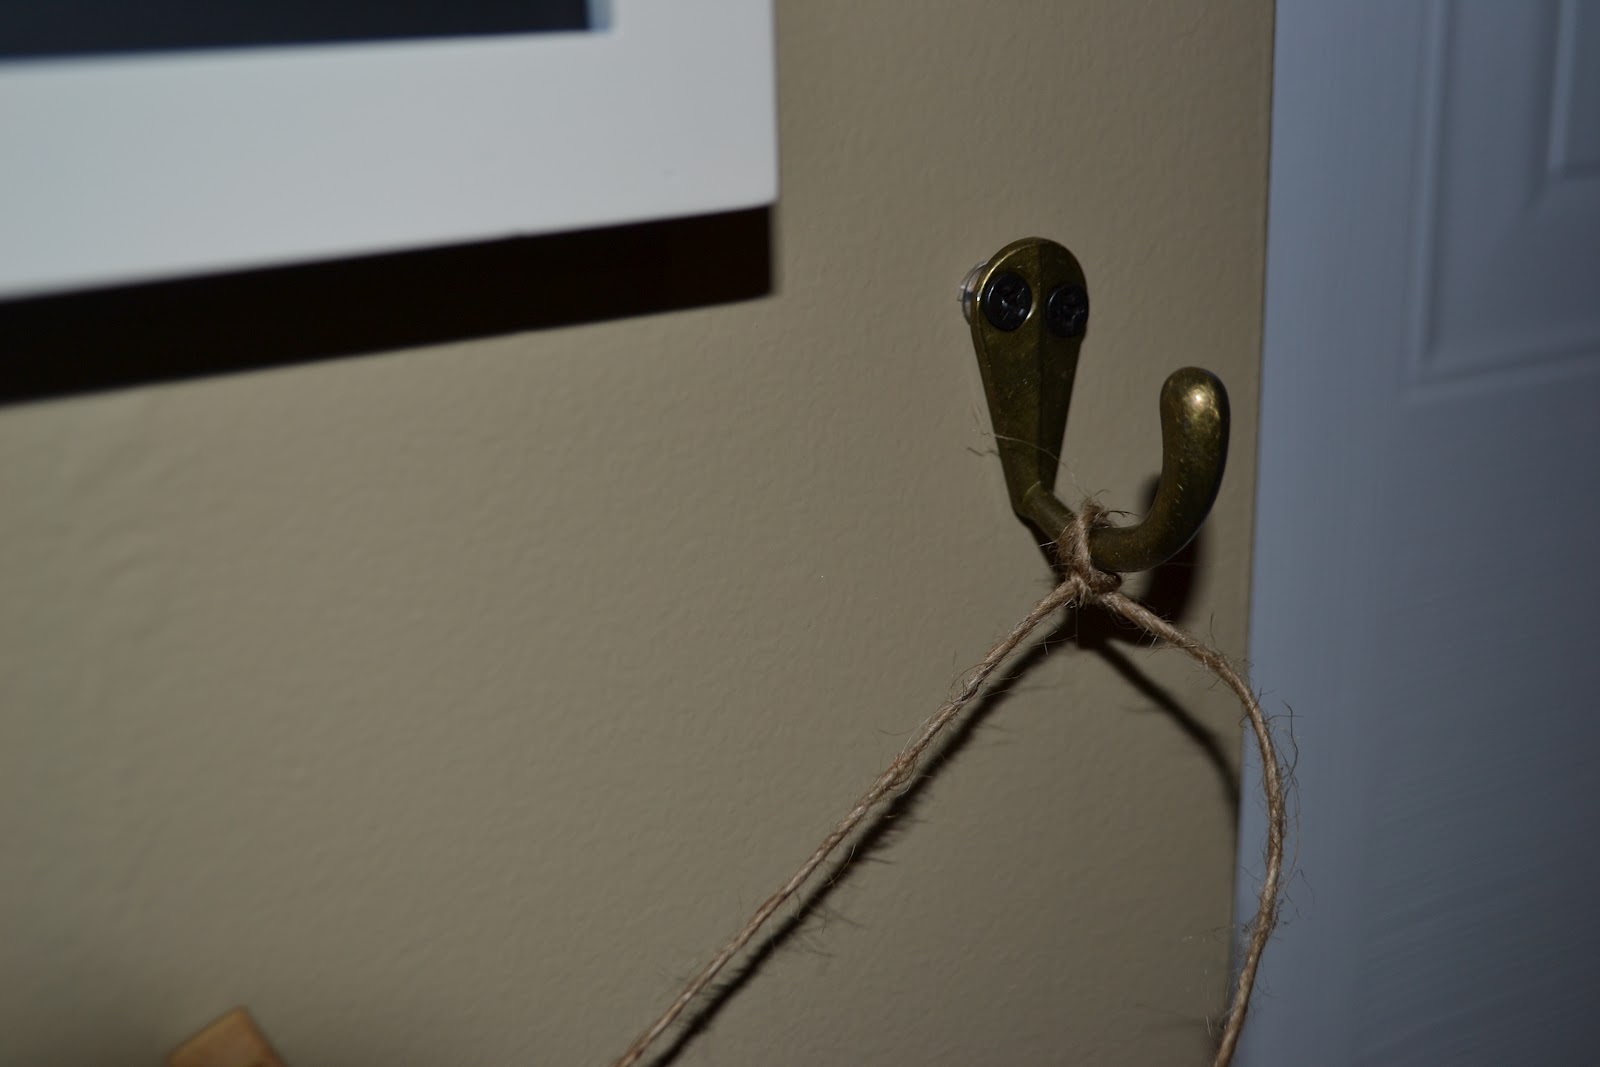
I hung the new chalk board on the wall, placed two small hooks below, and strung some twine between them.


Using wooden clothespins, I hung a few pieces of Andrew's most recent creations. I am quite happy with the finished product! I think it fills the space nicely and will be easy to keep up to date!